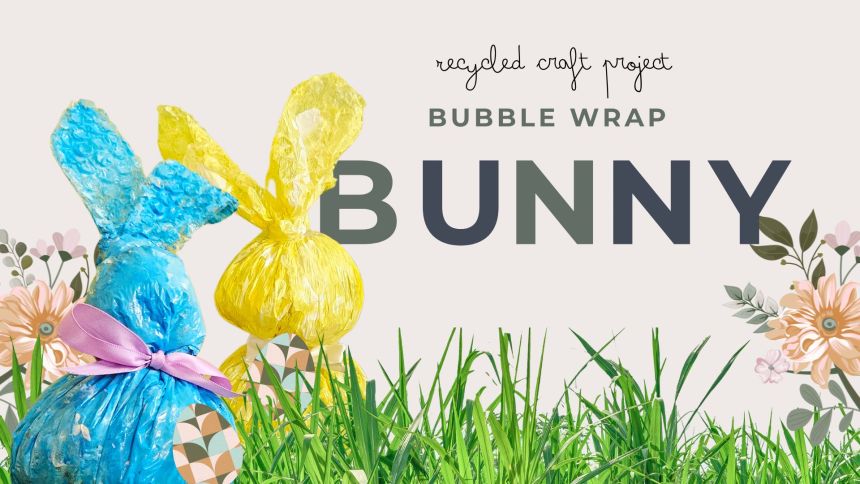
Creating a recycled craft project is an innovative way to engage creativity and promote sustainability. The Bubble Wrap Bunny is a perfect craft project for Easter, springtime or any animal themed activities. It is quick and easy to create and uses only a few materials. You can create this cute, fun and environment friendly decoration with your family and friends!
MATERIALS
BUBBLE WRAP (12 IN x 15 IN) + EXTRA
GLOSS ACRYLIC PAINT
COLOURS: (YELLOW + WHITE)
SATIN RIBBON (2 CM)
COLOUR: OFF WHITE
SCOTCH TAPE
SCISSORS
PAINTBRUSH
OPTIONAL: A SMALL ROCK

Time needed: 1 hour
Here are the steps needed, in order for you to create your very own Bubble Wrap Bunny.
- Creating the Bunny
Lay the bubble wrap in a flat surface. Take your scrap bubble wraps and bunch it up until you form a bubble wrap ball (you can add a small rock in this part, to add weight to the bunny). Place it in the center of the rectangular shaped bubble wrap. Wrap the ball with the main body bubble wrap and secure with scotch tape.
Create a smaller bubble wrap ball for the head of the bunny, gathering the remaining main body bubble wrap above it. Secure with scotch tape.
Move the bubble wrap filling until you achieve the desired shape for your bunny.
- Shaping the Ears
Using your scissors, trim off any excess bubble wraps on top of the bunny head and leave the long portion for the ears. Cut and shape the ears.
- Painting the Bunny
To paint the bunny, 2 colored paints were combined to achieve a mottled look. Apply the paint all over the bunny and allow the paint to dry completely.
- Finishing Touches
Take a piece of satin ribbon measuring 15 inches long and tie a ribbon around the neck of the bubble wrap bunny.
- Displaying your Bunny
Your Bubble Wrap Bunny is now complete and ready to be displayed!
You can make a few more bunnies to create an entire Bunny family. Add them to your Easter Egg Decorations and Easter Egg Hunts!


