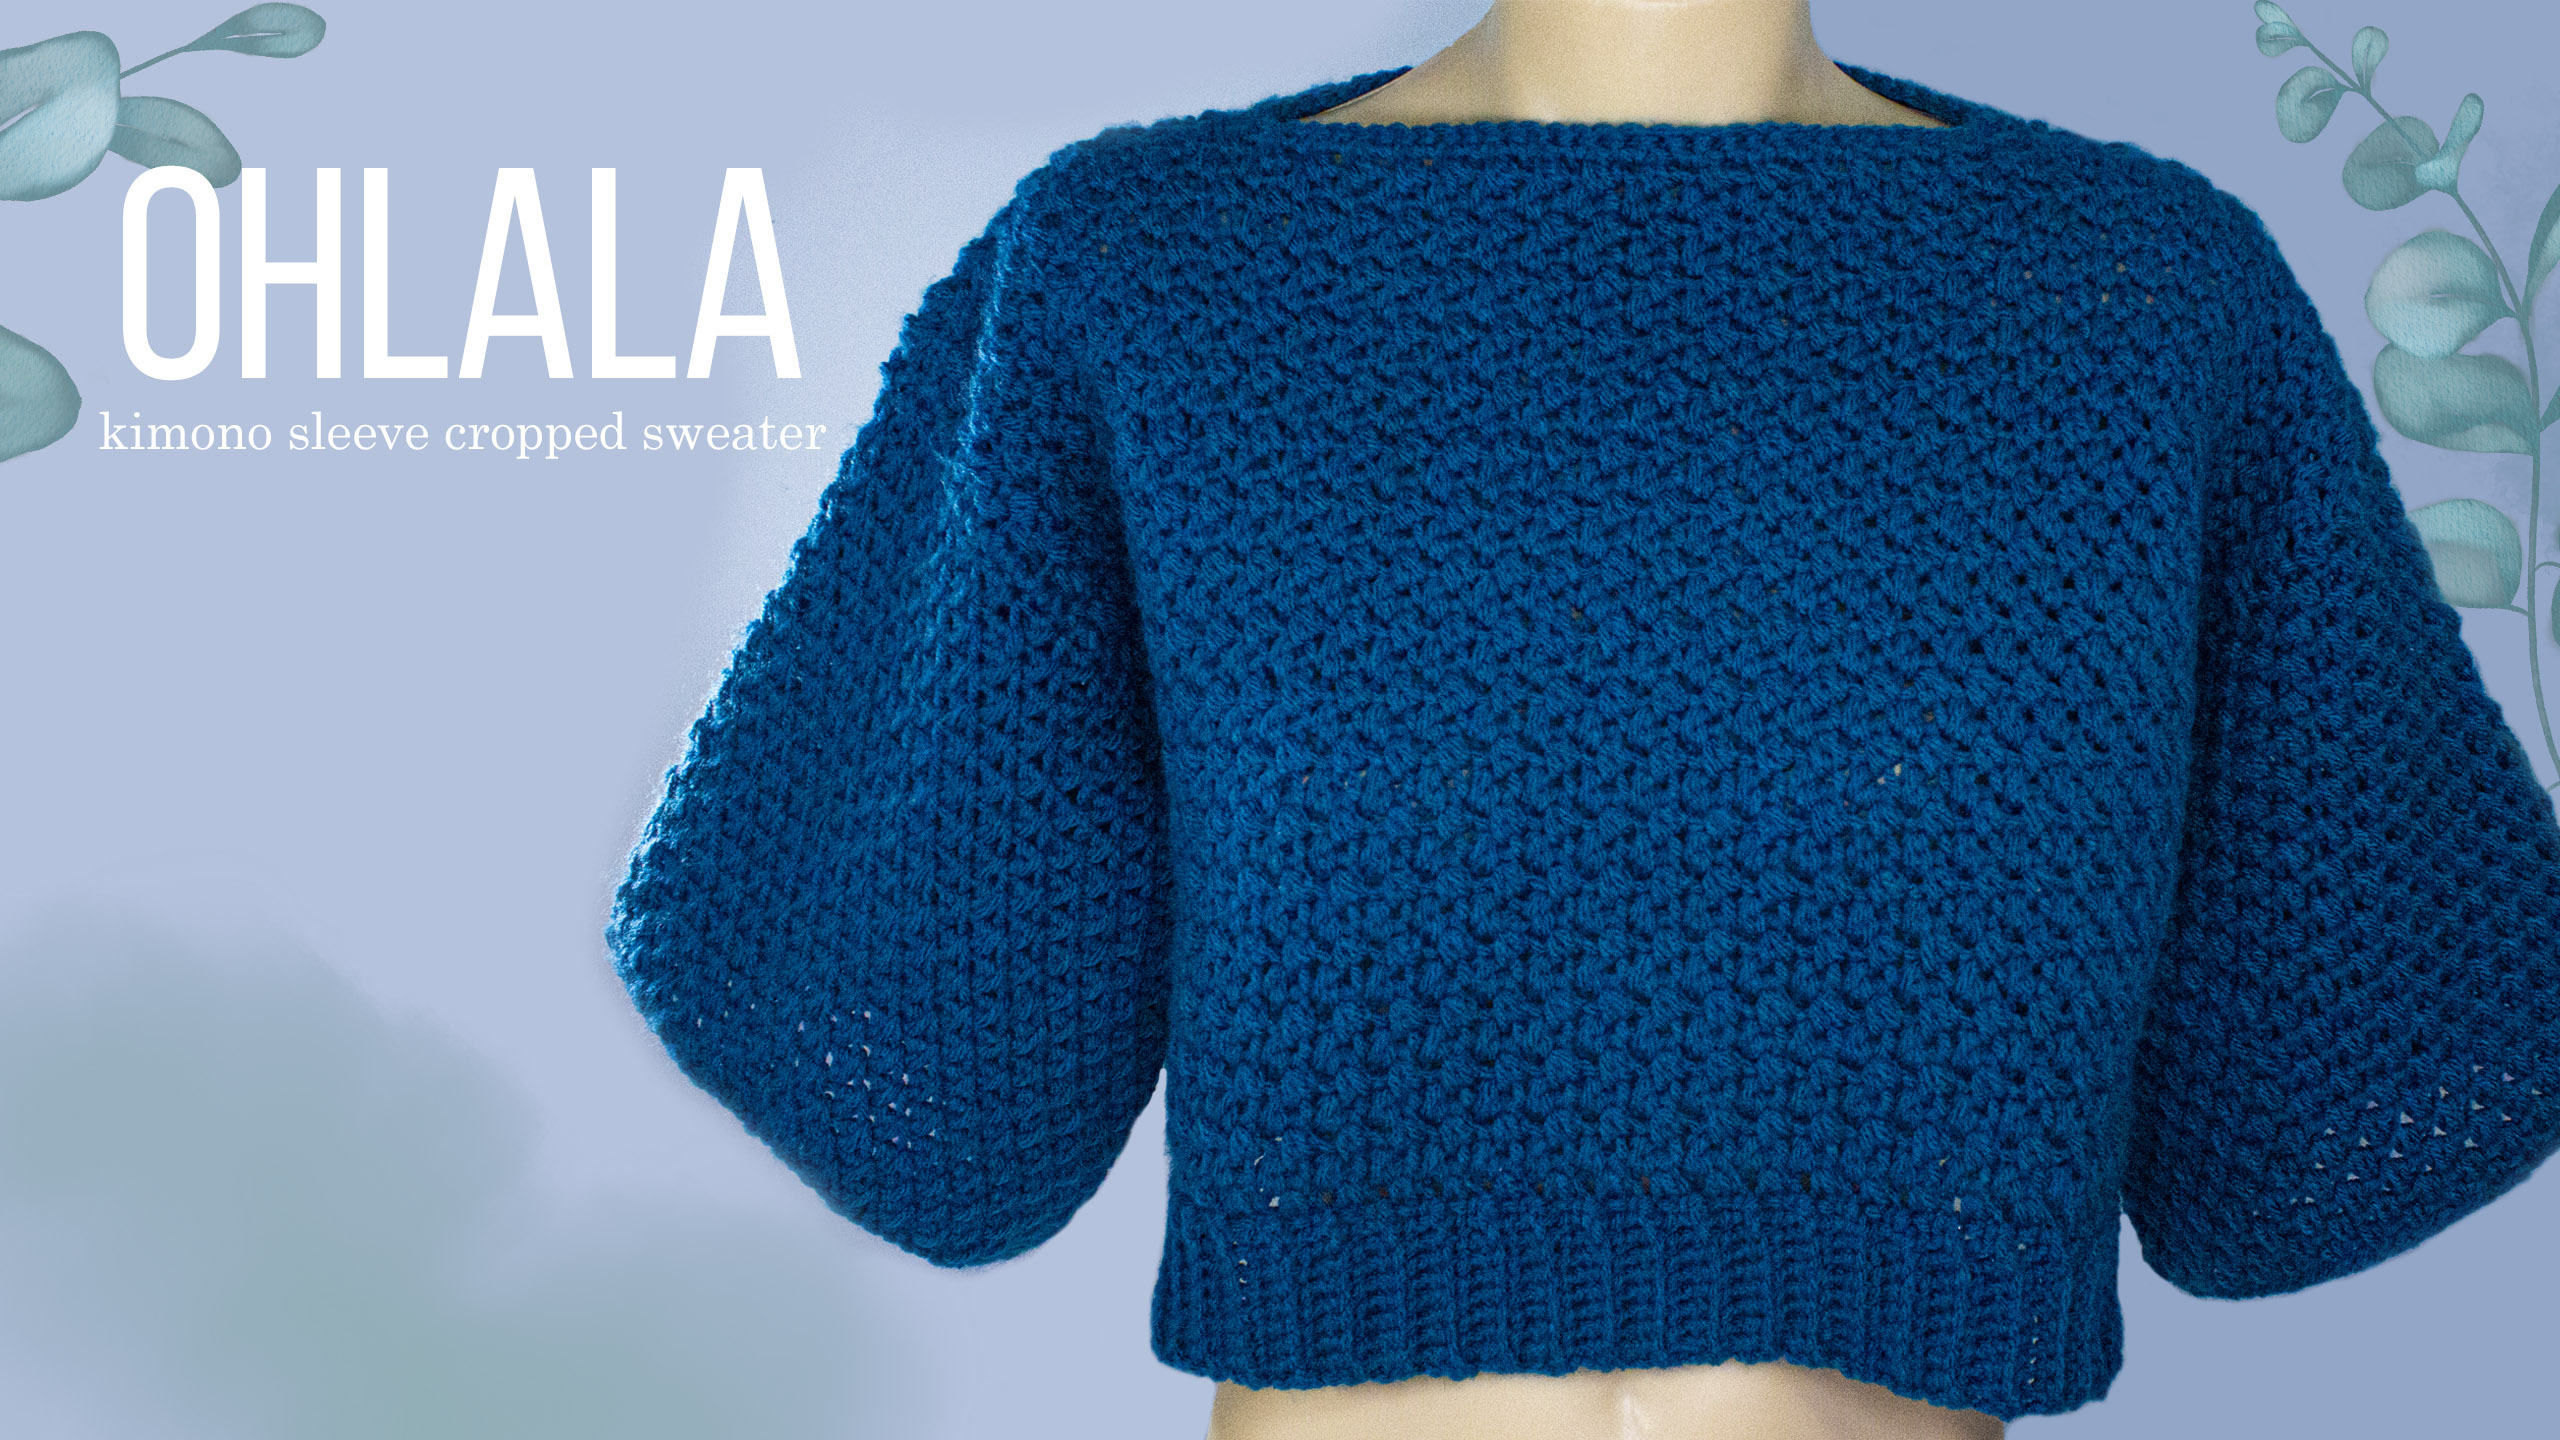
A simple, Japanese inspired cropped sweater which you can easily wear and style! A perfect blend of comfort and style for the modern wardrobe. This crochet top redefines elegance with its wide, kimono-inspired sleeves that exude effortless grace, while the cropped silhouette adds a playful, contemporary twist.
This pattern uses US Crochet Terms.
Sizes: XS | S | M | L | XL | XXL
GAUGE: 10 STS X 10 ROWS (4 X 4 IN)
MATERIALS
MEDIUM WEIGHT/ WORSTED WEIGHT YARN
COLOUR: TEAL
5 MM CROCHET HOOK
6 MM CROCHET HOOK
DARNING NEEDLE
SCISSORS
FRONT AND BACK PANELS
With your 5 MM crochet hook and yarn, begin by creating a slip knot and chaining ( 52, 58 , 64, 70, 76, 82 ).
ROW 1: Insert your hook in the 3rd Chain (CH) from the hook (Photo 1) and draw up a loop. Yarn over (YO) and insert your hook into the next CH and draw up a loop (Photo 2), YO and draw through all 4 loops (Photo 3) [1 Loop Stitch (LS) created].
Pattern Repeat: CH 1, LS in the next 2 CHs. Turn your work. Total stitches: 25, 28, 31, 34, 37, 40


ROW 2: CH 2, LS in the 1st ST and next CH-1 SP, * CH-1, LS in the next ST and next Ch-1 SP. Repeat * 23, 26,29, 32, 35, 38 times (Photo 4). Single Crochet (SC) in the top of the turning chain. Turn your work. Total stitches: 25, 28, 31, 34, 37, 40
ROW 3: CH 2, LS in the 1st ST and next CH-1 SP. * CH-1, LS in the next ST and in the next Ch-1 SP. Repeat * 23, 26, 29, 32, 35, 38 times. SC in the top of the turning chain. Turn your work. Total stitches: 25, 28, 31, 34, 37, 40.

XS and S | Rows 4 to 31. Repeat Row 3 of the pattern.
M and L | Rows 4 to 35 : Repeat Row 3 of the pattern.
XL | Rows 4 to 37. Repeat Row 3 of the pattern.
XXL | Rows 4 to 39. Repeat Row 3 of the pattern.
Fasten off leaving a 10 + inch tail for sewing. Create one more panel.


Position your fabric with long side of the fabric on top, count (8, 8, 8, 10, 12, 13) stitches from both ends and mark with a piece of yarn or a stitch marker. Join the right sides of the fabric and sew together (Photo 8). To join the sides of your top, count 18, 18, 20, 20, 22, 24 loop stitches from the top and mark. Position the fabric and sew into place (Photo 9).


To create the neckline, join your yarn into the neck area of your top.

ROUND 1: CH 1, SC in every ST in the round (Photo 10). Total stitches: 36, 48, 60, 56, 52, 64
ROUND 2: CH 1, SL ST in every ST in the round. Fasten off, weaving in any loose ends.

