

CROCHET STORAGE POT
CROCHET PATTERN
This tutorial will show you how to crochet storage pot for your desks and minimize clutter. This is an easy crochet project for beginners. You can also use yarns of different colors to suit your taste.
MATERIALS
- BULKY YARN
- 5 MM HOOK
- STITCH MARKERS
- SCISSORS
- DARNING NEEDLE
TOOLS AND MATERIALS | SHOPPING SUGGESTIONS

BULKY / CHUNKY YARN

BULKY / CHUNKY YARN

5 MM CROCHET HOOK

SCISSORS

DARNING NEEDLE

OTHER YARN OPTIONS
To begin our crochet storage pot, create 10 single crochet stitches in the magic ring.

2. Chain 1, and without turning our work, we crochet 2 SC stitches in every single crochet (SC).

Slip Stitch (Sl St) in next stitch and chain 1. We now have a total of 20 SC in this round.
3. For the next round, crochet 2 SC in the next stitch, 1 SC in the following stitch. Repeat until you have a total of 30 stitches in the round.
Feel free to add a stitch marker or leftover yarn to mark the beginning of every round. Slip stitch in the beginning stitch of the round and chain 1.

4. *SC in next 2 stitches, and 2 SC in next stitch. Repeat this pattern * until you have a total of 40 single crochets in the round. Slip stitch in the 1st single crochet of the round. Chain 1 and work a single crochet in every stitch of the round.

5. Chain 3, and double crochet (DC) in every stitch in the round. Slip stitch, in the 3rd chain of the beginning chain in the round. Repeat this round 3 more times, or until you have your desired pot height.
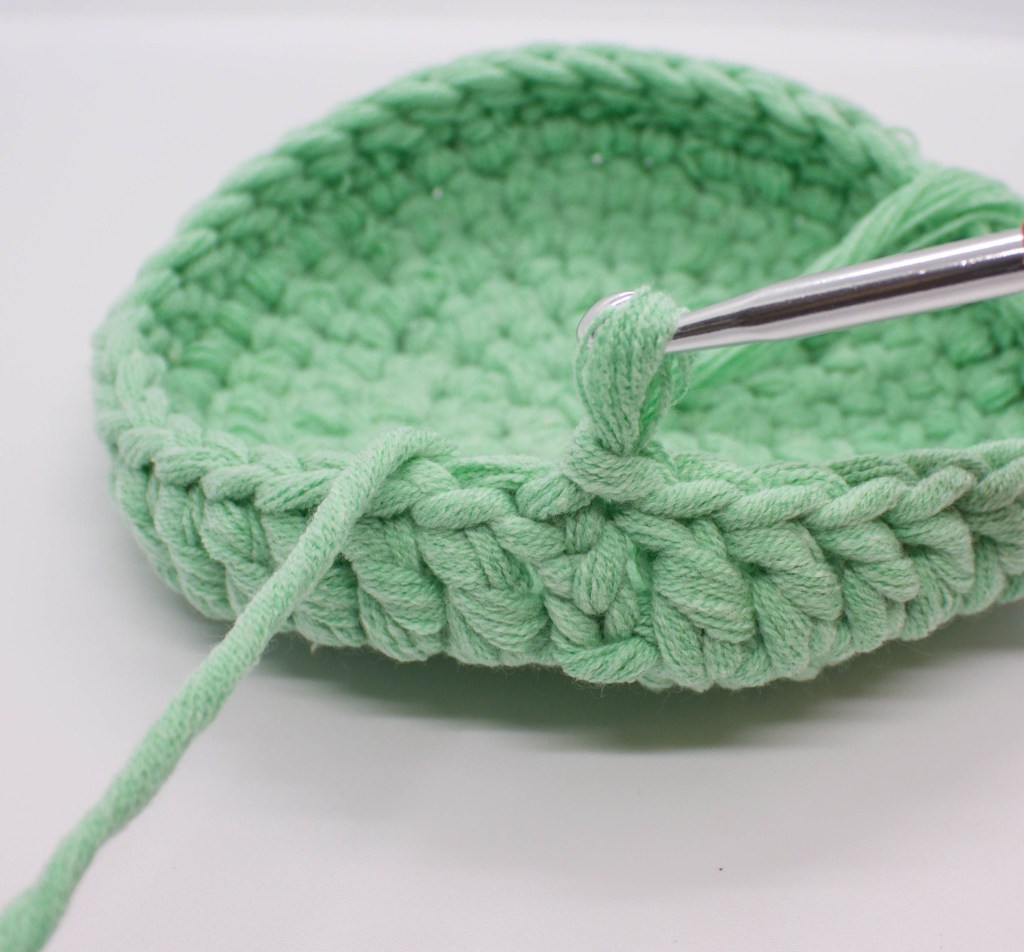
6. Slip stitch in every double crochet in the round. Slip stitch in the beginning stitch to join. Fasten off and sew in any loose ends.
Crochet Storage Pot is now ready to use! Until next tutorial, Happy Crocheting!

This post contains affiliate links that may earn us commissions. © OHCHIVES


